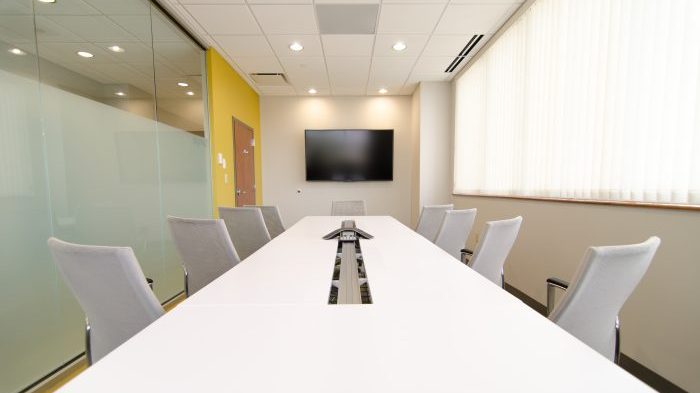
Your conference room may be the only place your whole team gathers, and it is where clients, investors, and candidates form their impression of the company. An upgrade is worth doing well, and it is easy to do badly: buy the wrong display, skip the infrastructure, and the room will disappoint for years. Here is how we plan one, in the order the decisions actually need to be made.
1. Decide what the room is for
A boardroom for client presentations, a huddle space for four people, a training room with a moving audience, and a hybrid room where half the participants are remote have different requirements. Settle the primary use, the platform you meet on (Microsoft Teams, Zoom, or a mix that needs a bring-your-own-device design), and the maximum number of seats. Every later choice follows from these three answers.
2. Audit the infrastructure
Before any equipment is chosen, look at the room itself: power and network drops where the display and table will be, cable paths through walls and floors, wall construction that can carry a large display, windows that will wash out a screen, and the acoustics of the surfaces. Fixing these during the upgrade is cheap. Fixing them after is a second project.
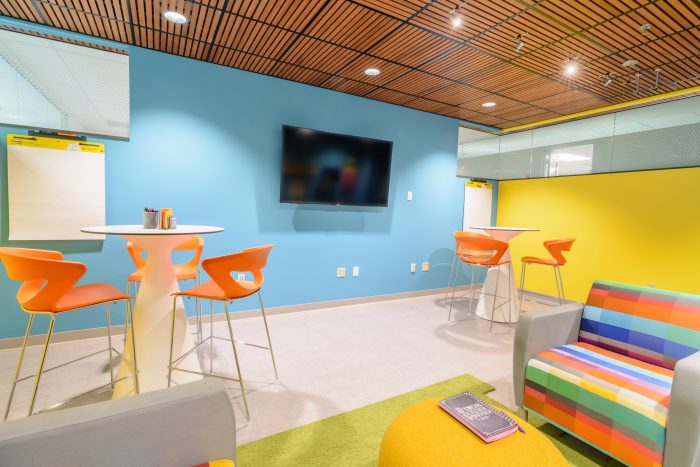
3. Size the display for the farthest seat
The most common mistake is a display that is too small. A useful rule of thumb from the AV industry is the 4/6/8 rule: for detailed content such as spreadsheets, the farthest viewer should sit no more than four times the screen height away; for general presentations, six times; for video only, eight times. Measure the room, then choose the size. In hybrid rooms, two displays, one for the remote participants and one for the content, let people see both at once.
4. Plan the audio and the camera as one system
Remote participants judge the room by its sound. Microphone coverage should reach every seat, usually with a ceiling array or table microphones, and speakers should be placed for the listeners. The camera should frame the people, not the ceiling; modern cameras track and frame speakers automatically. A native Teams Rooms or Zoom Rooms system ties these together so a meeting joins with one touch and no laptop.
5. Put control and scheduling in the design
One touch panel that runs the whole room, with the same interface in every room across the company, is what makes the technology usable by everyone. A scheduling panel outside the door that shows availability and books the room on the spot removes the double-booking problem entirely; we cover it in room scheduling.
6. Set standards, then repeat them
If you have more than one meeting room, decide on a standard for each room size, and build every room of that size the same way. Staff learn one system, support becomes simple, and spare parts cover the whole building. The room should also match your brand and quality expectations, because the client sitting in it is deciding whether to hire you.
7. Furniture, finishes, and the details
Table connectivity, cable management, seating that keeps everyone in the camera's view, lighting that does not glare on the screen, and blinds or shades for the windows are the difference between a room that photographs well and a room that works. A small room can be made to feel larger with a lighter finish and a display sized correctly rather than one that dominates the wall.
8. Plan the support before the first meeting
Every room eventually needs an update or a repair. Decide who owns that, whether it is your IT team, our Smart Care remote monitoring, or both, and make sure the system reports its own health so a problem is found before the meeting, not during it.
Our recent rooms cover the whole range: the Memphis Teams boardroom, the Chattanooga Mayor's conference room, the EPB boardroom, and a large divisible community room. If you are planning an upgrade, the meeting rooms page shows what we build, and a site visit is the fastest way to get an accurate plan.